Photograph Every Solder Joint Like It's Going in a Museum: The Build Journal Habit That Saves Your Sanity
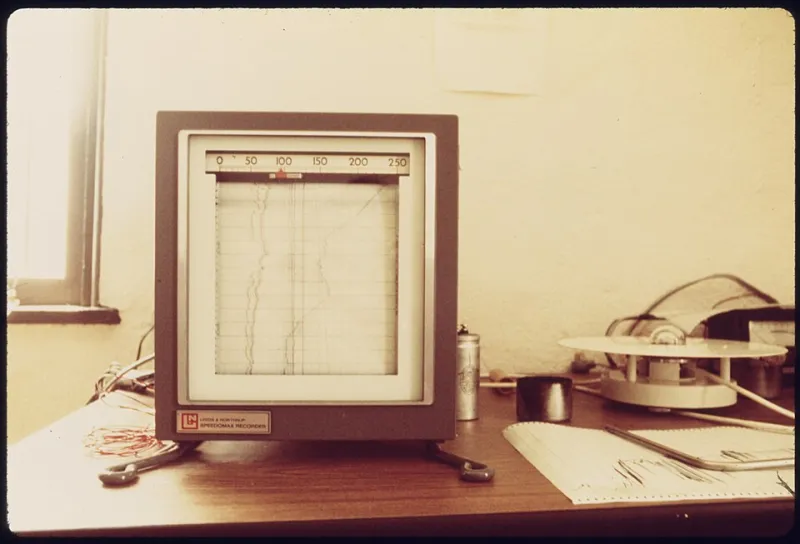
Photo: Boyd Norton, Public domain, via Wikimedia Commons
Somewhere in Helsinki, there's a storage room full of cardboard prototypes of Artek stools, and every single one of them has a file. Photos from four angles. Material notes. A dated record of every change from the first wobbly mockup to the final product. This isn't sentimentality — it's standard practice at Nordic design museums, and it exists because someone, at some point, needed to know exactly why a joint was shaped the way it was.
Now look at your workbench. You've got a half-finished ESP32 weather station, a tangle of jumper wires, and absolutely no record of why you wired that sensor to GPIO 17 instead of 16. You were sure you'd remember. You will not remember. Nobody remembers.
The Museum Curator Mindset
The trick is to stop treating documentation as something you do after a project and start treating it as part of the build itself. Museum conservators don't write their condition reports at the end of an exhibition — they log everything as it happens, because the moment of handling is exactly when the information exists.
For a DIY electronics project, that means:
- Photo at every stage. Before you solder, after you solder, before you close the enclosure. Your phone is right there. Use it.
- One annotation per photo, minimum. "Q3 swapped to 2N2222, original part ran hot" is worth more than a paragraph of vibes.
- Dates on everything. Six months is long enough to forget which of two identical-looking revisions is in the box.
- The mistake log. This is the part everyone skips and the part that saves you. Every lifted trace, every reversed diode, every firmware bug that ate your Saturday — write it down.
Tools That Won't Take Over Your Life
You do not need a Notion workspace with fourteen linked databases. You need friction to be near zero, or you'll quit in a week.
The classic setup: a paper lab notebook (a dot-grid one, if you want to feel like a person who has their life together) plus your phone camera. Write, snap, tape a printed copy in if you're feeling archival. Done.
If you're digital-first, a single markdown file in the project's repo works beautifully. Name it BUILDLOG.md, commit alongside your code, and your documentation is version-controlled for free. Add a cheap USB microscope (thirty bucks, widely available at any US electronics retailer) for close-ups of joints you'll want to inspect later.
The template I keep coming back to fits on an index card:
Date / Stage: what phase Done: what actually happened Broken: what went wrong Next: the very next physical action
That last line is stolen from David Allen and it's the difference between a journal and a diary. "Next: desolder C4 and test the regulator in isolation" gets you back on the horse in April. "Frustrated, stopped" does not.
Why This Pays Off at Month Six
Here's the scenario every tinkerer knows. You built a thing in the fall. It worked. You moved on. In spring, it starts rebooting randomly, and now you're staring at a PCB with no memory of whether that suspicious-looking joint under the capacitor is how you left it or how it failed.
With a build journal, you flip to the entry from October 14th, see the photo you took before you buttoned it up, and notice the joint was already cold-soldered back then. Diagnosis time: four minutes. Without the journal: a weekend, a magnifying lamp, and a genuine consideration of throwing the whole thing in the lake.
The firmware side is just as real. When that intermittent I2C timeout reappears, your log tells you that you already fought this bug in November, that the fix was a pull-up resistor value, and — critically — that you tried the thing you're about to try right now and it didn't work.
The Finnish Frame
There's a design principle hiding in all of this, and it's the same one behind why Nordic furniture lasts: respect for the object's full lifecycle. A chair designed to be repaired is a chair designed to be understood. A build journal is you designing your own project to be understood — by future you, who is essentially a stranger with your tool collection.
So before your next build, do the museum thing. Photograph it. Annotate it. Log the failures with the same care as the wins. Six months from now, that slightly smug note in the margin — "DO NOT use the cheap headers again, they shear" — will feel like a letter from a wiser friend.
And unlike most museum archives, yours fits in a notebook on the bench. No climate-controlled storage required. Though, given the state of some of our garages, maybe that's the next project.